29 August 2021
DirectX 11 Rendering - 3D Geometry

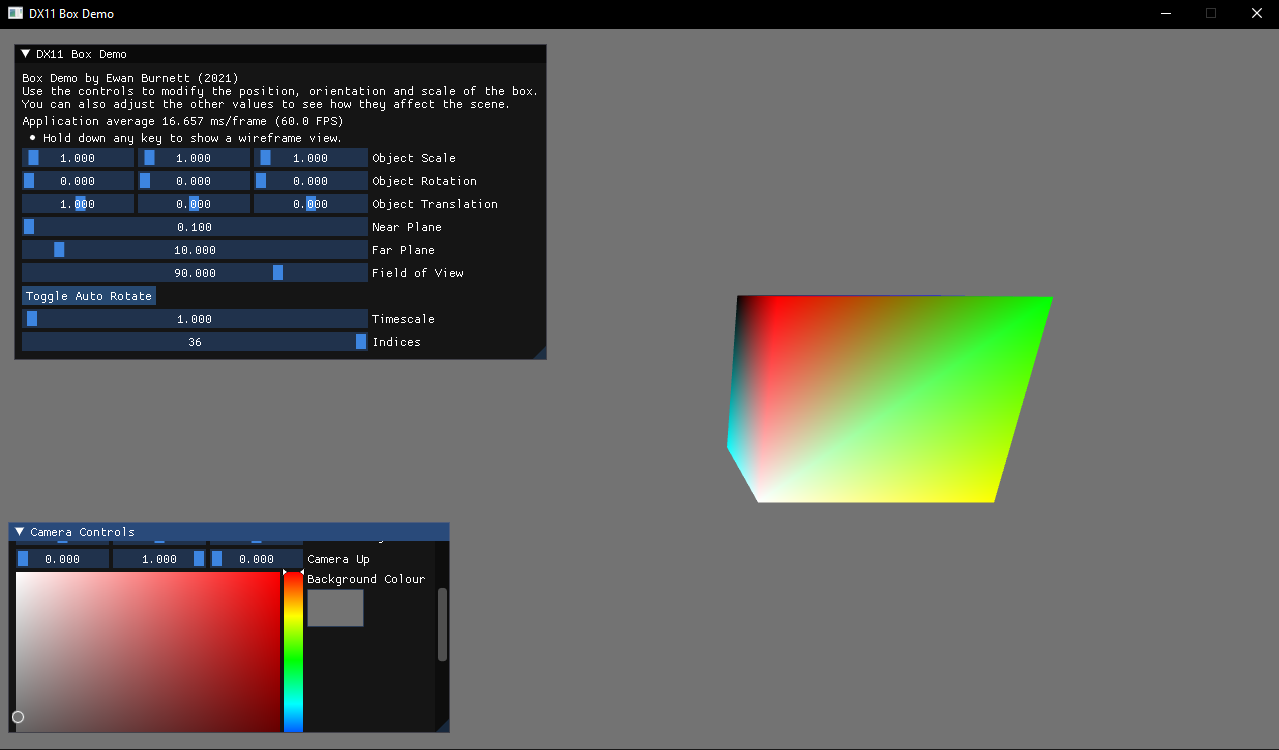
After hours of study, and even more hours of debbugging, I have a 3D rendered cube!
This demo has a comparatively huge featureset compared to last week’s Triangle Demo, featuring:

- Object Scaling, Rotation and Translation
- An ArcBall style Camera
- ImGui integration
- Time implementation
Which may not sound like much, but there’s a whole lot going on under the hood!
Object Transformation
Any and all transformations in 3D space can be broken up into 3 categories: Scaling, Rotation and Translation. So, using this knowledge alongside some basic matrix algebra, we can construct a matrix describing an object’s transformation by simply multiplying the individudal transformation matrices like so:
Scaling * Rotation * Translation
This resultant matrix - the World Matrix - is a member of each object in a given scene:
//Initialize world matrix to Identity matrix
    XMStoreFloat4x4(&I, XMMatrixIdentity());
	mWorldMatrix = I;

    ...

//Load transformation vectors
    XMVECTOR scale = XMLoadFloat3(&mScale);
	XMVECTOR rotation = XMLoadFloat3(&mRotation);       //Rotation in Radians
	XMVECTOR translation = XMLoadFloat3(&mTranslation);

//Calculate the world matrix
	XMStoreFloat4x4(&mWorldMatrix, 	//W = SRT
    XMMatrixScalingFromVector(scale)	*
    XMMatrixRotationRollPitchYawFromVector(rotation)	*
    XMMatrixTranslationFromVector(translation)
	);
After setting this up, by modifying the appropriate Scale, Rotation and Translation vectors (which are converted to the relevant matrices), These transformations are easily applied to the object.
Z-Buffering
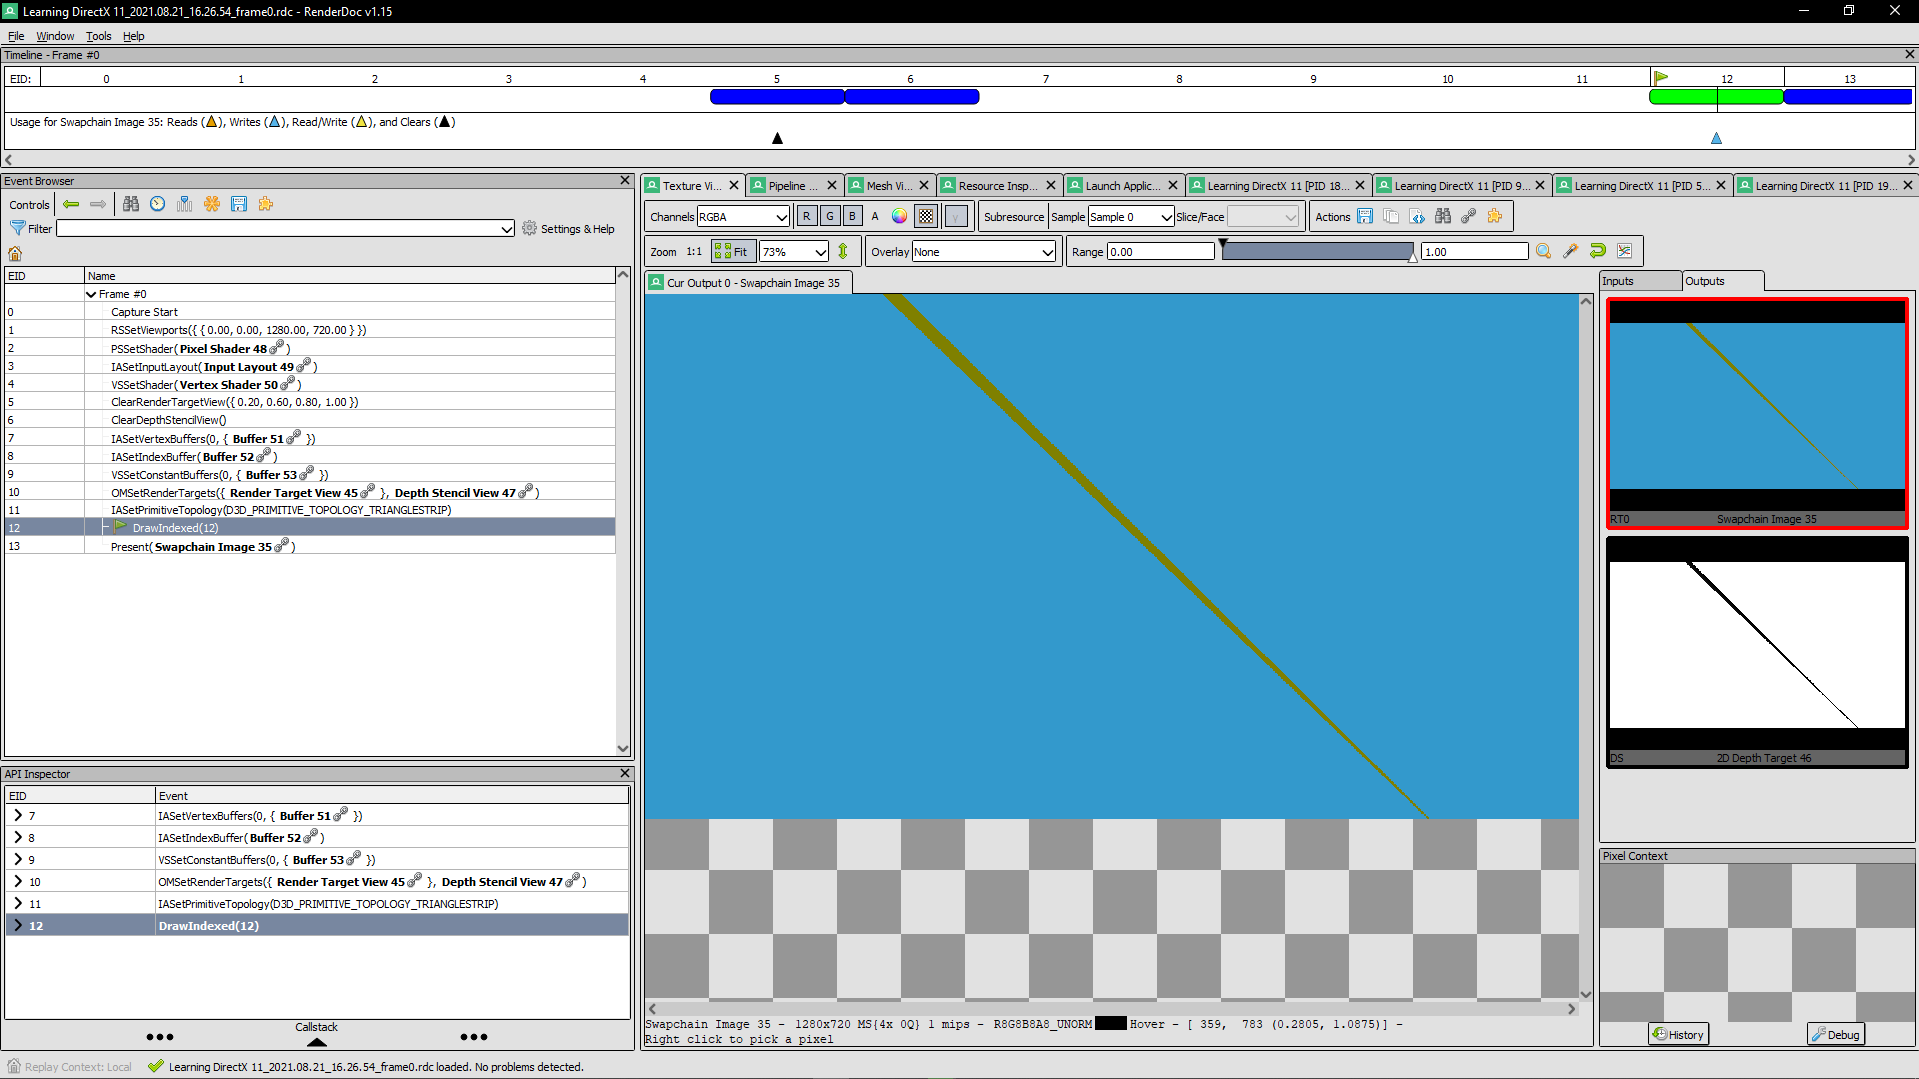
To ensure that objects are properly occluded when being rendered, a Depth buffer (Also known as a Z-Buffer) is necessary. Below is an example of Z-Buffering (the black and white view to the right)

Z-Buffers perform a function known as a Depth Test on objects in a scene, preserving the pixels closest to the near plane, and discarding any others. this way, objects are able to render in-front or behind one another. Implementing this buffer is quite standard:
//Z-Buffer Initialization (note: the Stencil buffer is also bound at this stage)
D3D11_TEXTURE2D_DESC ZDesc = { 0 };
	ZDesc.Width = mClientWidth;
	ZDesc.Height = mClientHeight;
	ZDesc.MipLevels = 1;
	ZDesc.ArraySize = 1;
    //These quality settings may change, depending on whether MSAA is enabled.
    ZDesc.SampleDesc.Quality = 0;
    ZDesc.SampleDesc.Count = 1;

    ZDesc.Format = DXGI_FORMAT_D24_UNORM_S8_UINT;
    ZDesc.Usage = D3D11_USAGE_DEFAULT;
	ZDesc.BindFlags = D3D11_BIND_DEPTH_STENCIL;

//Creating a texture interface from our descriptor
    ID3D11Texture2D* mZBuffer;
	pDevice->CreateTexture2D(&ZDesc, nullptr, &mZBuffer);

    ...

//Set a Depth/Stencil view, and bind it to the pipeline
D3D11_DEPTH_STENCIL_VIEW_DESC mZViewDesc = {};
	mZViewDesc.Format = DXGI_FORMAT_D24_UNORM_S8_UINT;
	mZViewDesc.ViewDimension = D3D11_DSV_DIMENSION_TEXTURE2DMS;
	mZViewDesc.Texture2D.MipSlice = 0;
	mZViewDesc.Flags = 0;

    ID3D11DepthStencilView* mZView;
	pDevice->CreateDepthStencilView(&mZBuffer, &mZViewDesc, &mZView);
Orbital Camera
The View Matrix describes the camera’s viewpoint relative to the world; Whatever is within the bounds of this matrix is rendered to the screen. Now, this can be a static point in space - but to make things a little more interesting, I’ve implemented a simple Orbital camera - which sets the view matrix from its perspective.
This Camera works by editing two sets of parameters; one for the basic camera behavior, and one for the orbital movement.
For the standard camera parameters, first is a Focus Target Position (for example, (12, 5, -8) ). This is where the camera will Look At at all times. Then, there’s the Camera’s position in the world, and finally the “up” direction, represented by a normalized vector - (0, 1, 0) being up in the Y axis for example. This is all we really need to calculate the View Matrix:
//Calculate the Camera's view matrix on-demand
	DirectX::XMVECTOR pos = DirectX::XMLoadFloat3(&mPosition);
	DirectX::XMVECTOR tgt = DirectX::XMLoadFloat3(&mTarget);
	DirectX::XMVECTOR up = DirectX::XMLoadFloat3(&mWorldUp);

	DirectX::XMMATRIX v = DirectX::XMMatrixLookAtLH(pos, tgt, up);

	DirectX::XMStoreFloat4x4(&mViewMatrix, v);	//<-- The resultant matrix becomes our View matrix
As for the Orbital behavior, there are 3 parameters: Radius, Theta (θ), and Phi (ϕ). Radius controls the distance of the camera from the focus point. Theta dictates the camera’s 360° rotation about the Y axis , and Phi pitches the camera up or down (180°) about the X axis. By combining these values, the desired motion is achieved:
//Setting Camera Orbit
	DirectX::XMVECTOR pos =
		DirectX::XMVector3Transform(
			DirectX::XMVectorSet(mViewPos.x, mViewPos.y,  mViewPos.z - mRadius, 1.0f),
			DirectX::XMMatrixRotationRollPitchYaw(mPhi, -mTheta, 0.0f)
		);

	DirectX::XMStoreFloat3(&mPosition, pos);	//<-- Update the position of the camera
This same logic can be applied to objects as well, allowing them to orbit around any point in space!
Projecting onto Screen Space
The last step to getting an object on screen is to figure out how it’s going to be positioned on the screen itself. We achieve this using a Projection Matrix.
This takes a given point in world space, Determines whether it’s within the view of the screen - defined by a shape called a Frustrum - then calculates the perspective projection from that point onto the 2D plane representing the screen.
Frustrums are defined by 4 values - the vertical Field of View, the Aspect Ratio of the render target, the 2D representation of the render target called the Near Plane, and the furthest distance an object can be before it is no longer rendered - the Far Plane.
The mathematics behind this are quite complex, so I won’t go in-depth. Luckily, DirectX 11 couldn’t make this easier to implement:
XMMatrix proj = XMMatrixPerspectiveFovLH(XMConvertToRadians(mFoV), mAspectRatio, mNearPlane, mFarPlane);
XMStoreFloat4x4(&mProjMatrix, proj);
This function calclulates the Left-Handed coordinate projection matrix, which can now be used in our code!
Constant Buffers
So now we have the World, View and Projection matrices… but we’re not using them yet! To link this matrix magic into the code, something called a Constant Buffer must be used.
As the name suggests, Constant Buffers are a space in memory which contain constant values. These can be used in both the C++ source, and the HLSL shaders - allowing the implementation of 3D graphics, Dynamic Lighting, etc.
We want to store the resultant matrix of the World, View and Projection matrices; in other words, we store World * View * Projection - in that order.
//Creating a Constant Buffer
	struct ConstantBuffer {
		XMMATRIX mWorldViewProj;
	};

	ConstantBuffer mCB = { };
	XMMATRIX w = XMLoadFloat4x4(&mWorldMatrix);
	XMMATRIX v = XMLoadFloat4x4(&mViewMatrix);
	XMMATRIX p = XMLoadFloat4x4(&mProjMatrix);

	mCB.mWorldView = XMMatrixTranspose(w * v * p);
Then, in the HLSL source for the program’s Vertex Shader:
//Constant Buffer declaration in HLSL
cbuffer Const0{
	matrix mWorldView;
}

...

VSOut main(VSIn input)
{
	VSOut vso;
	//Transform the vertex positions into Homogenous clip space
	vso.position = mul(float4(input.position, 1.0f), mWorldView);
	vso.color = input.color;
	return vso;
}
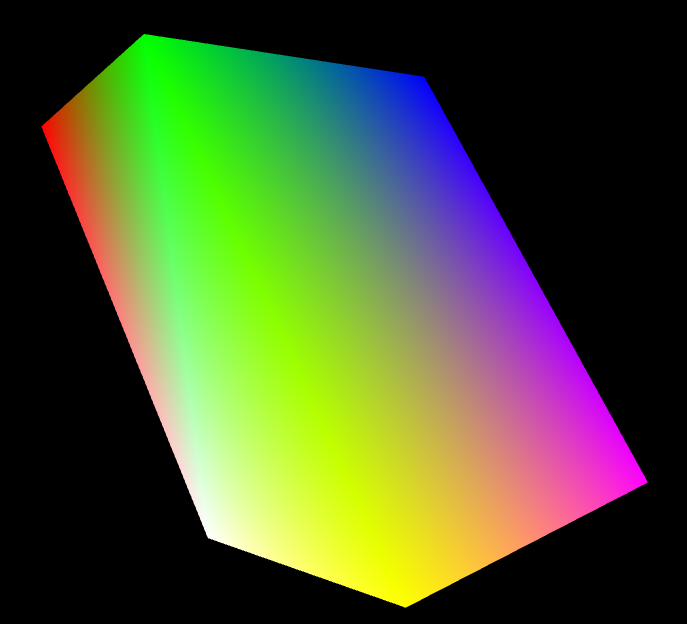
And this is the result! (rotated, scaled cube) 
As a quick note; DirectX 11 uses a Row major format for its matrices, though mind-bogglingly, the DirectX functions for matrix transformations outputs a Column major matrix. So when passing this sort information into a constant buffer, the matrix must first be transposed - else there’ll be all sorts of graphical issues.
Conclusion
This demo was quite fun to make, especially after I fixed my matrix math issues. I was considering using keybound controls, but knew that they would be insufficient and frankly quite annoying to implement. Then, while watching DX11 sample projects on Youtube, I was reminded about ImGui - an open source GUI library with support for multiple backends - most importantly DirectX 11. This was just what I needed, and was infinitely easier than writing a GUI library from scratch.
After linking ImGui - a pretty simple process thanks to the extensive documentation - I got to binding the various controls for the application, which again was straightforwards. With programming, It’s quite rare that things work first time; and i’m glad that this was one of those instances!
Anyway, That was my escapade for this week! As always the Source Code is available on my Github, and the Demo can be downloaded from Here!
Thanks for following me on my journey so far!
-Ewan